Build a serverless API using Cloudflare Workers, Drizzle ORM, and Neon
Learn how you can use Cloudflare Workers, Drizzle ORM, and Neon to build a serverless API

In this guide, you will learn how to build a serverless API using Cloudflare Workers, Hono, Drizzle ORM, and Neon.
What are Cloudflare Workers?
Cloudflare Workers enable you to build and deploy serverless code instantly across the globe without worrying about managing and scaling infrastructure.
What is Neon?
Neon is fully managed serverless Postgres. This means you do not have to pick a size for your database upfront, and it can automatically scale up based on your workload and down to zero when not in use.
Note: Neon’s architecture separates storage and compute. This makes a Neon Postgres instance stateless, which makes it possible to automatically scale compute resources up or down based on demand. To learn more, check out Neon’s architecture.
What is Drizzle ORM?
Drizzle ORM is a lightweight TypeScript ORM. It is compatible with Cloudflare Workers and comes with drizzle-kit, a CLI companion for generating SQL migrations automatically.
Prerequisites
This is a beginner-friendly guide. However, it assumes basic knowledge of JavaScript or TypeScript (preferred). You also need to have Node.js installed on your machine.
To successfully complete this guide, you will need:
You can find the final code on GitHub.
Set up the project using create-cloudflare-cli
To get started, run the following command in the directory of your choice:
This command runs create-cloudflare-cli (also known as C3), which is a command-line tool designed to help you set up and deploy Workers. You will be prompted to install the create-cloudflare package, and you will be presented with a setup wizard.
First, give your project a name (or leave it blank so it gets automatically generated). Next, select the following options:
- What type of application do you want to create?
"Hello World" worker - Do you want to use TypeScript?
Yes - Do you want to deploy your application?
No
A look at the project’s folder structure
After the project’s dependencies are installed, open the project in your text editor of choice. The two main files are:
src/index.ts: this file contains a basic worker.wrangler.toml: a configuration file to customize the development and publishing setup for a Worker.
When you open the src/index.ts file, you will see the following code:
The worker performs a default export of an async fetch function. The following three parameters are always passed into it:
request: represents an HTTP request and is part of the Fetch API.env: represents the bindings (in the Workers platform, environment variables, secrets, and KV namespaces are known as bindings) assigned to the Worker.ctx: represents the context your function runs in.
Whenever this worker is called, it returns a Response object with the string ’Hello World!’.
To enable auto-completion for your project’s environment variables, they are added to the Env interface.
To ensure everything is set up correctly, you can run npm run start. This command starts a local development server using wrangler, a command-line tool for building with Cloudflare developer products. If you open your browser and navigate to http://localhost:8787, you will see ’Hello World!’.
While you can handle different HTTP methods by checking the request’s method, using a framework will make it easier to build the API. To do that, we will use Hono, a web framework that is compatible with Cloudflare Workers.
Set up Hono.js
To get started, run the following command in your project to add Hono as a dependency:
Next, go to your src/index.ts file and replace the existing code with the code provided below:
You are first importing Hono and creating a new instance. You then pass the Env type as a generic to your Hono instance. This makes it possible to enable autocompletion for environment variables. You then create an API endpoint located at / and return a JSON object with the message ”Hello World!”. Finally, you do a default export for the app variable.
Create a Neon project
Go ahead and create an account if you do not have one already. Next, create a new project. Choose 15 as the Postgres version, pick the region closest to where you want to deploy your app and pick a size for your compute endpoint (you can change this later).
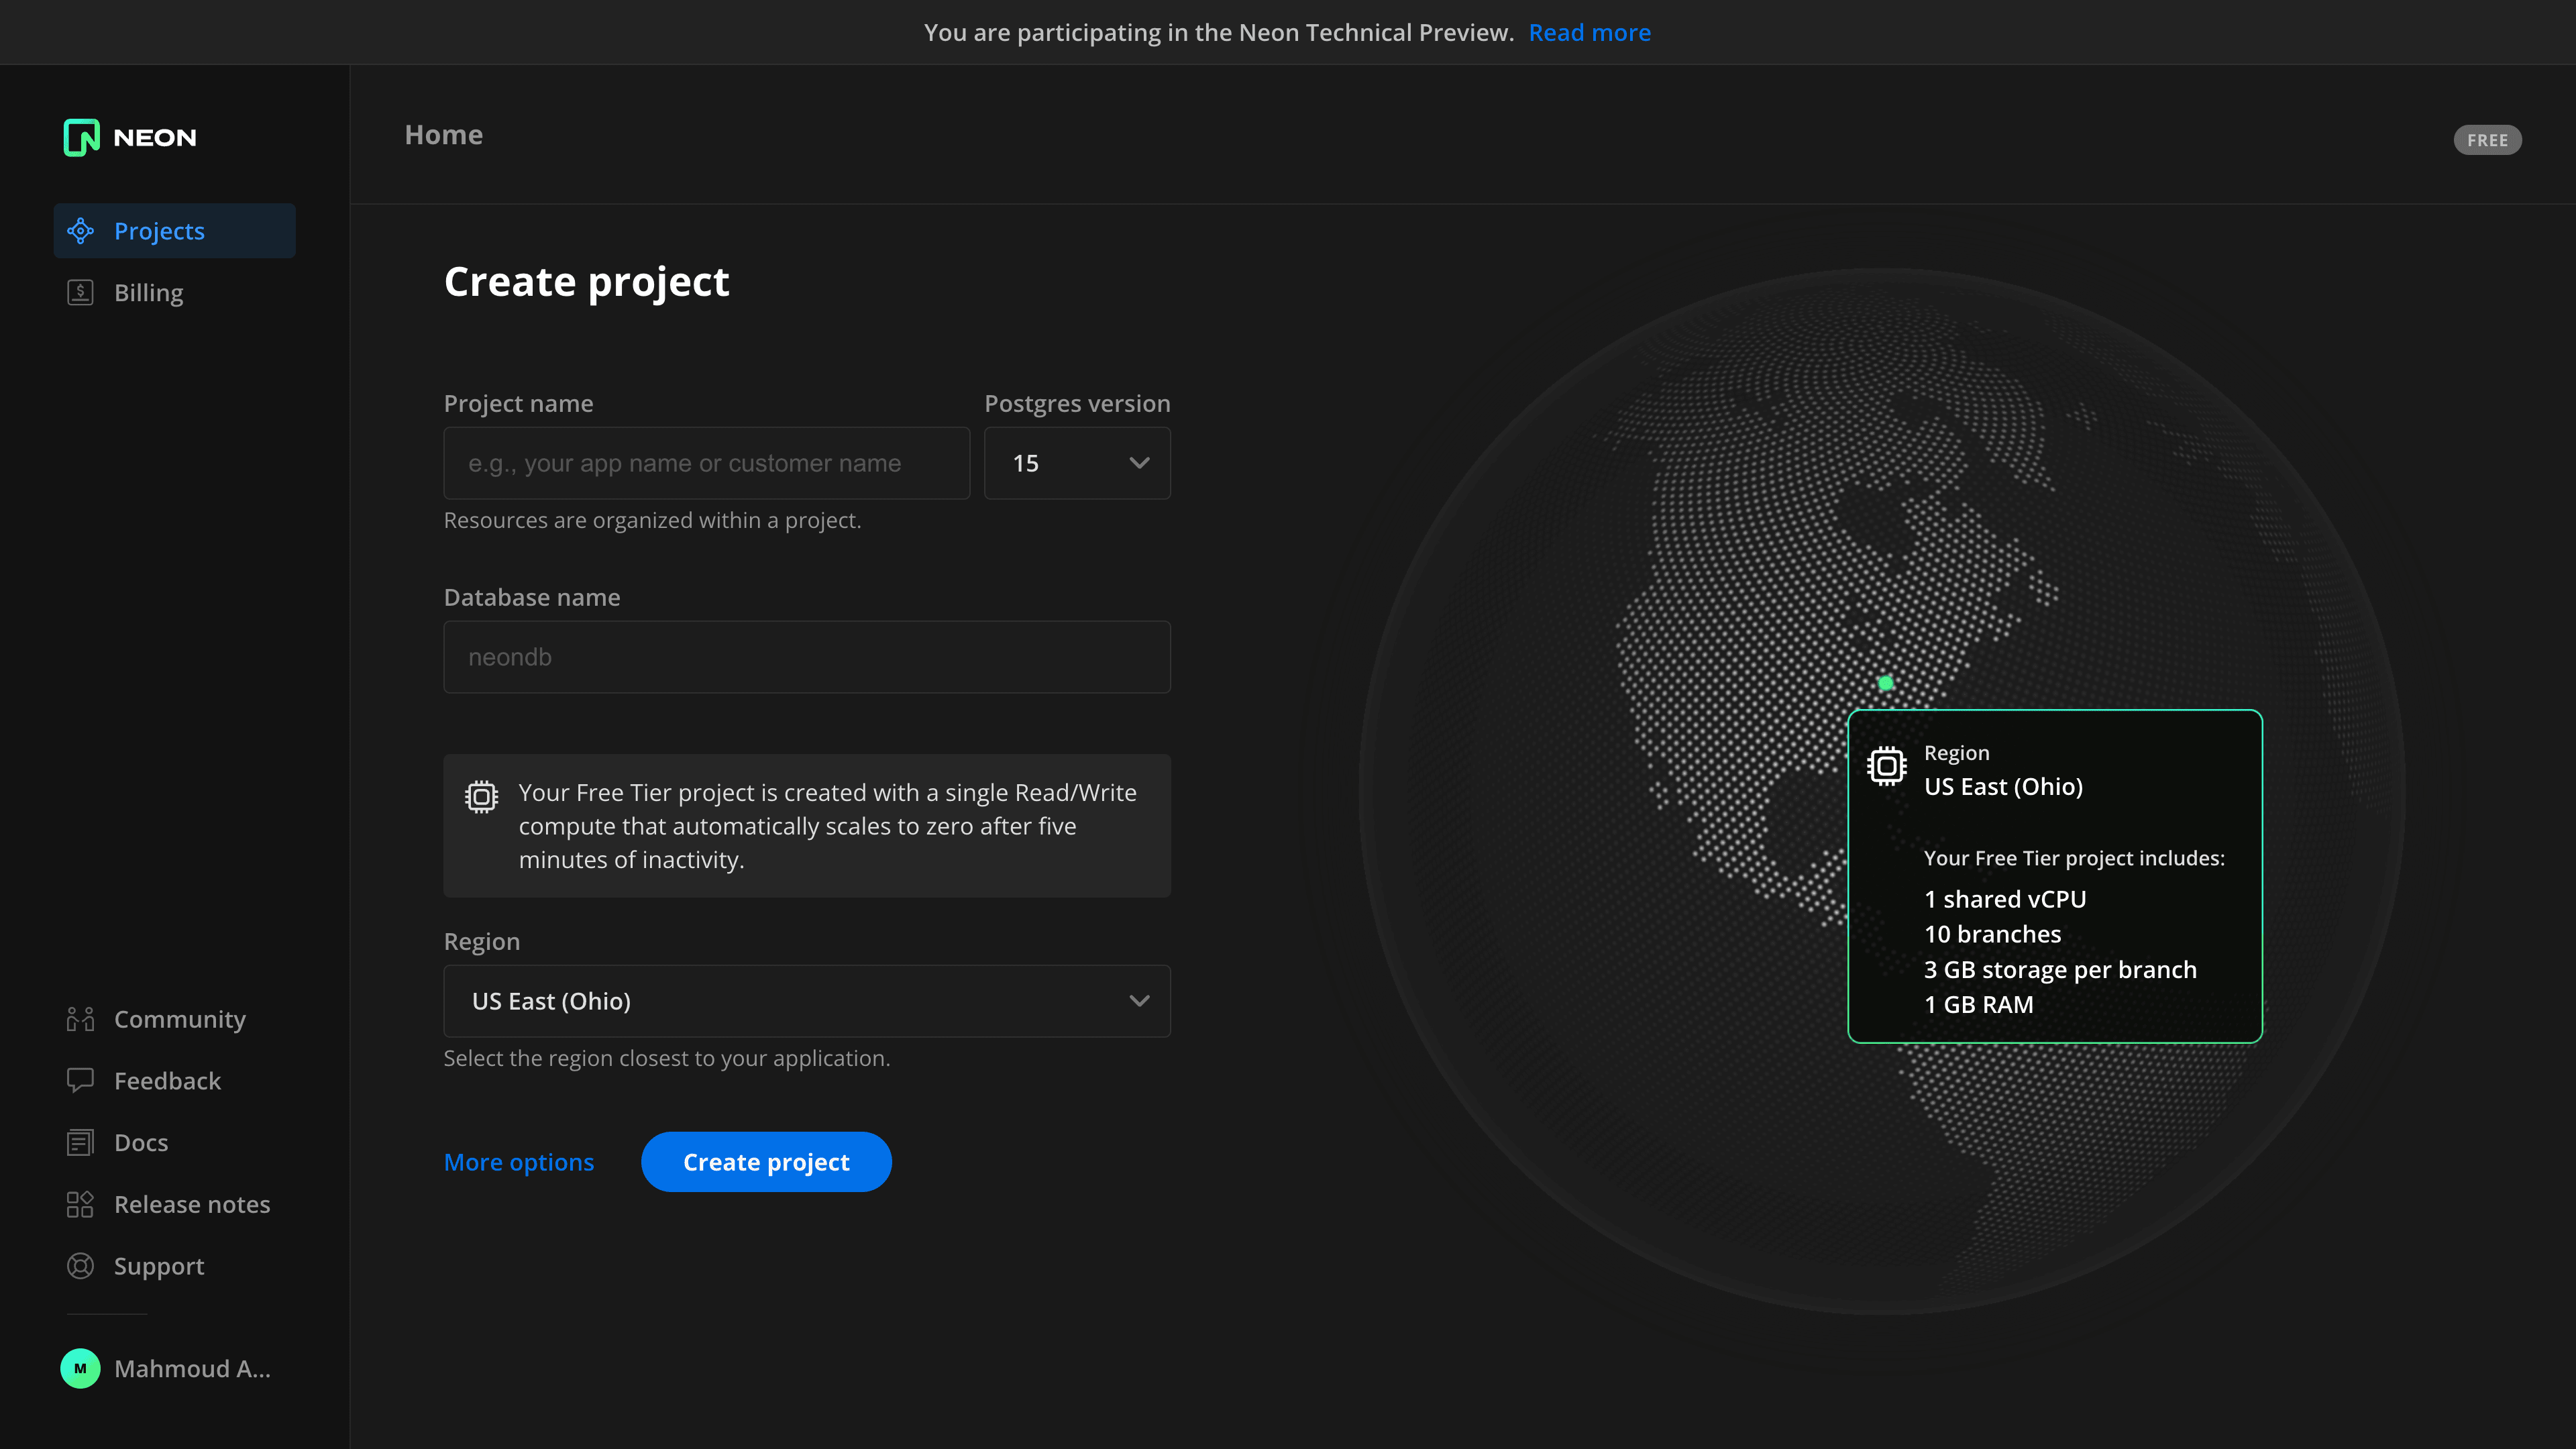
After you create the project, you get a connection string that you can use to connect to your database. In the root of your project, create a .dev.vars file and add the connection string as an environment variable. It should be formatted like a dotenv file, such as KEY=VALUE.
Add Drizzle ORM to your project
To add Drizzle to your project, run the following commands
The first command installs drizzle-orm along with @neondatabase/serverless. This enables you to connect to Neon from serverless environments.
You are then installing drizzle-kit for generating migrations, postgres.js to establish a connection when running migrations, dotenv for loading environment variables, and tsx for executing TypeScript files.
Define the schema using TypeScript
In your src directory, create a new db/schema.ts file. This file will contain the database schema definition in TypeScript. Add the following code to the file you just created:
You are defining a table called products, which has four columns:
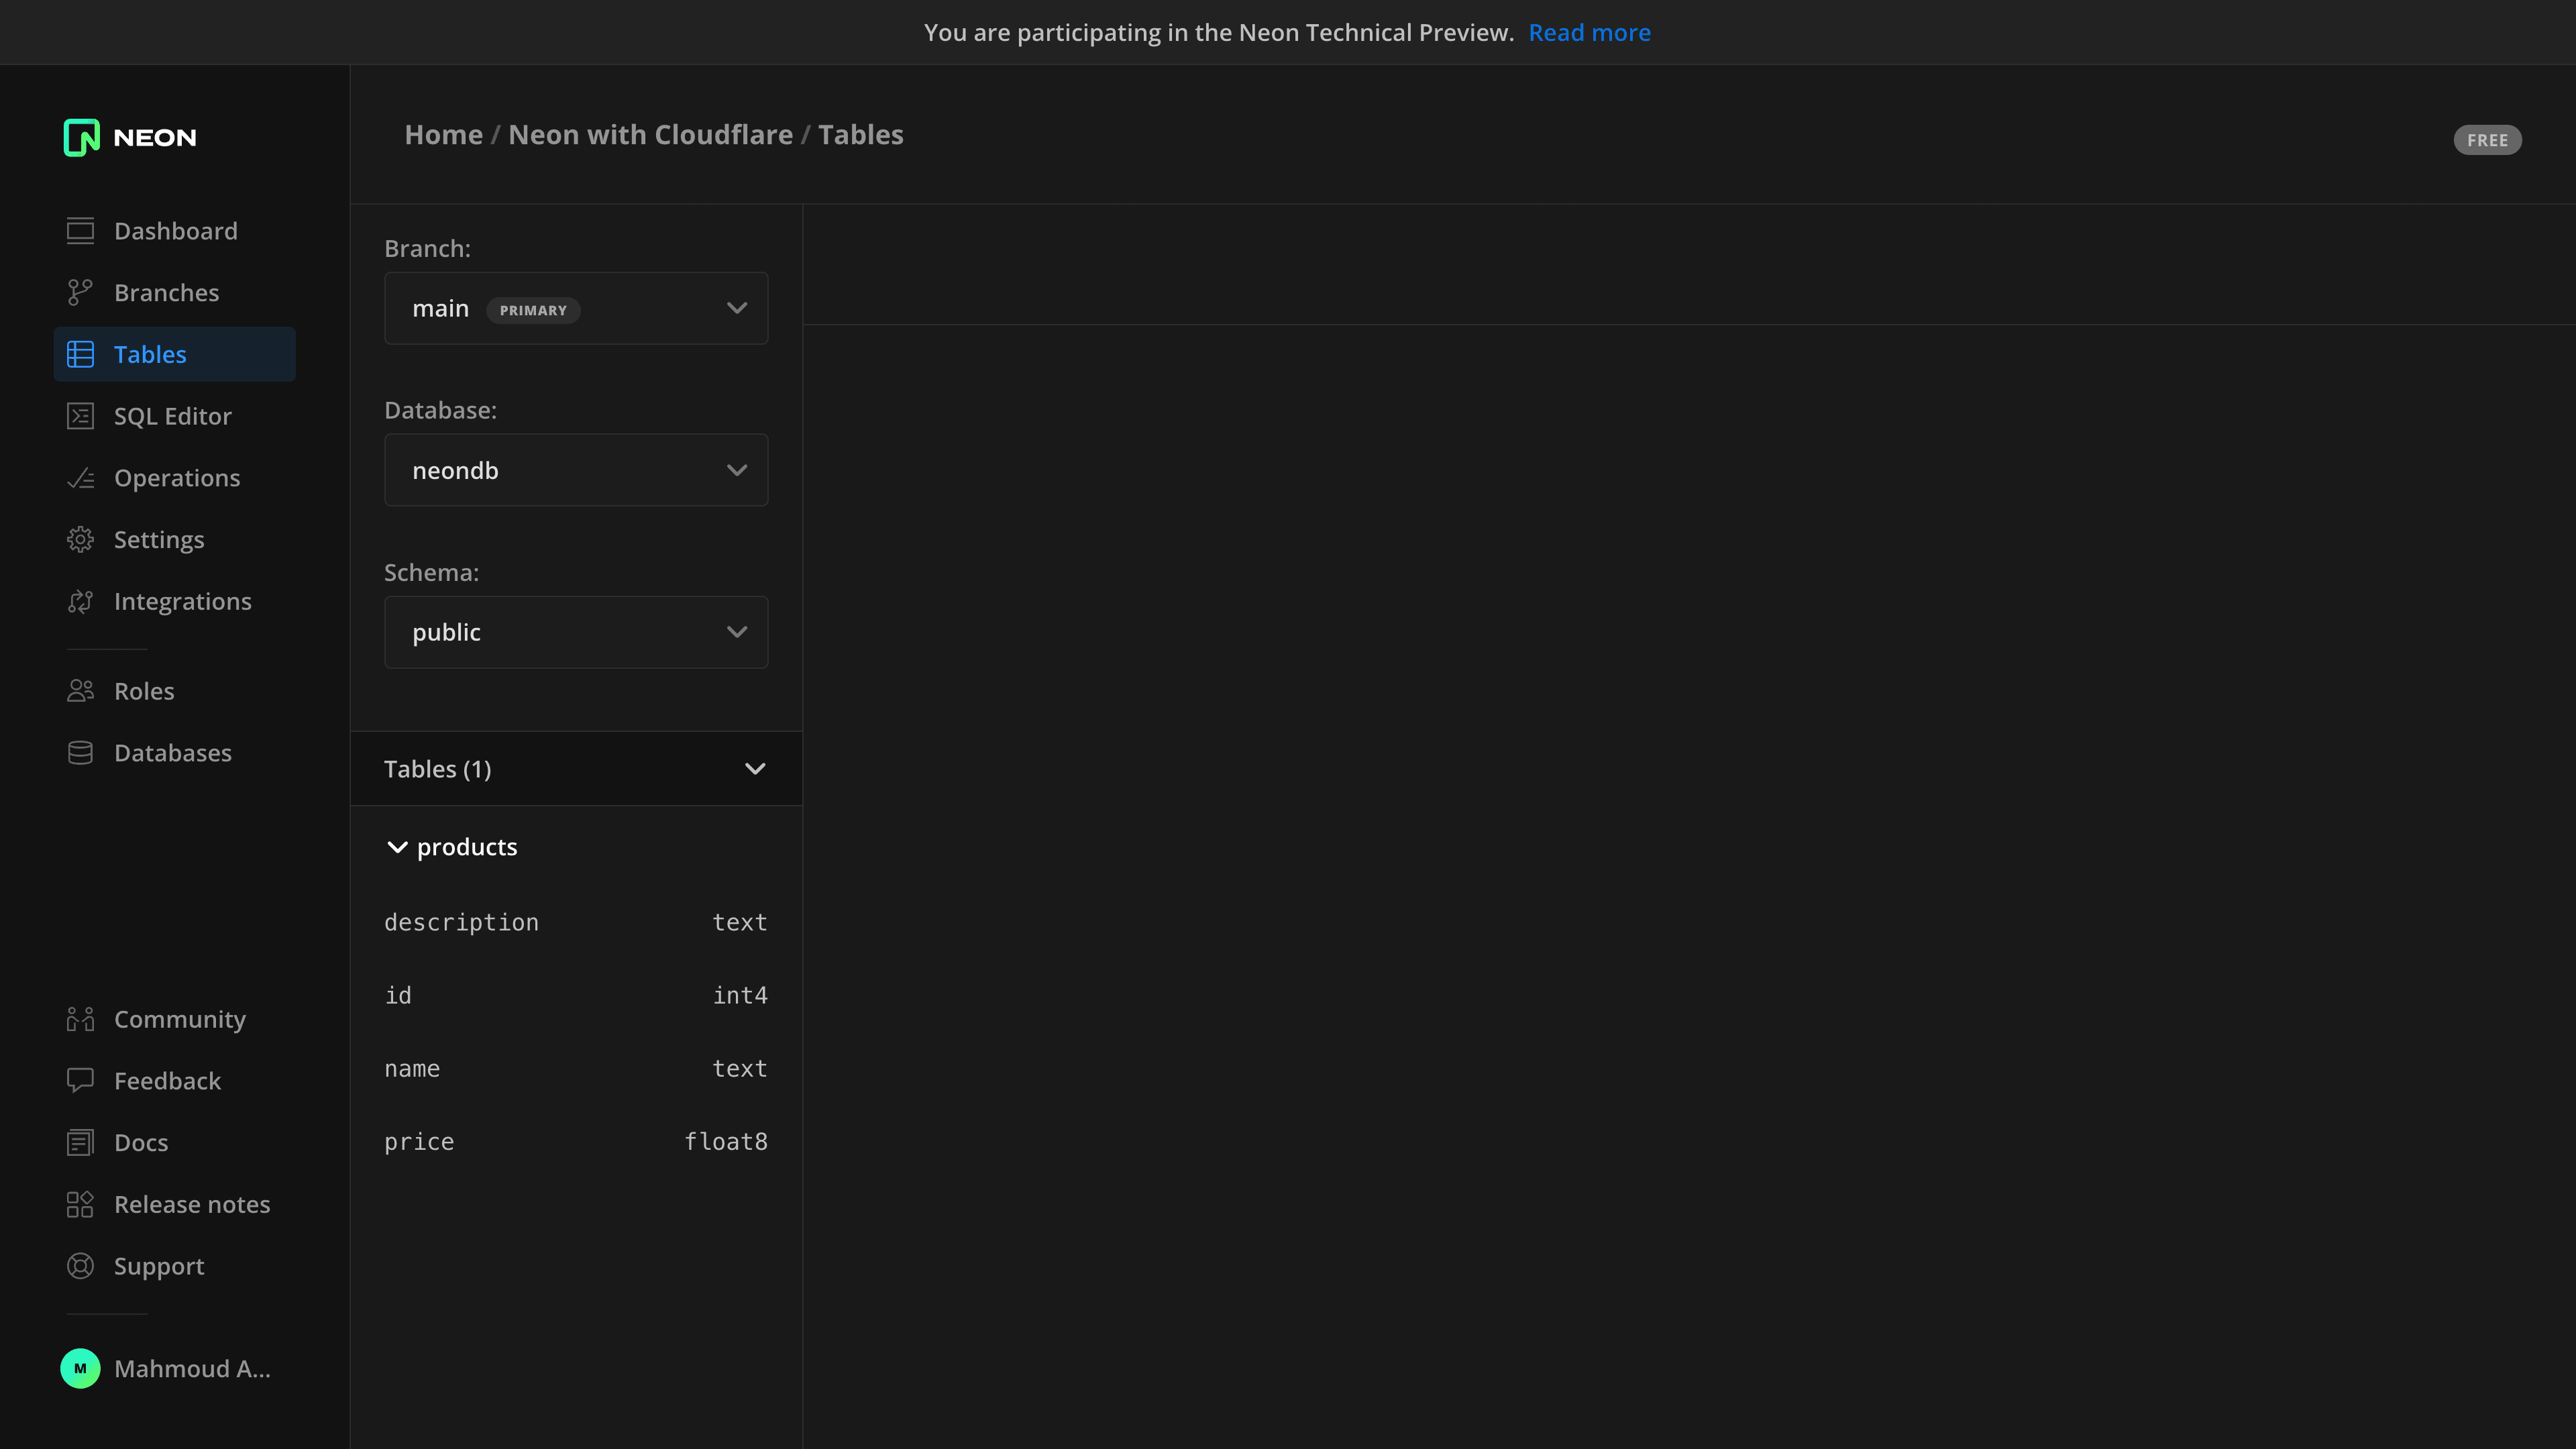
id: this is the table’s primary key, and it is of typeserial, which is an auto-incrementing 4-bytes integer.name: which has a variable-length(unlimited) character string.description: which has a variable-length(unlimited) character string.price: which is a double-precision floating-point number
Generate database migrations
In the project’s root directory, create a drizzle.config.ts file and add the following code to it:
In this config file, you specify the location of your schema as well as the output directory, which will contain the generated migrations. In our case, the output directory is called drizzle and will be located in the project’s root directory.
The next step is to generate the database migrations. To do that, modify your package.json file and add a new ”db:generate” command in the scripts object:
If you run the command npm run db:generate, you will see a newly generated SQL migration file in the /drizzle directory. The final step is to apply the migration to the database.
Apply migrations to the database
In your project’s root directory, create a migrate.ts file and add the following code to it:
This TypeScript file will be responsible for running migrations. First, you are importing the DATABASE_URL environment variable from the .dev.vars file. You are setting the max number of connections to 1 to ensure that queries are being executed in order and over the same connection.
You then have a main() function that will call a migrate() function that is imported from the drizzle-orm package. This function takes a database connection string and an object where you specify the location of the migrations folder.
Finally, to be able to execute this migrate.ts file, modify your package.json file and add a new ”db:migrate” script in the scripts object:
This command runs the migrate.ts file using the tsx package you installed previously. You can test it by running the following command, which applies the migration to your database:
You can check that the tables have been created successfully by going to the “Tables” page in the Neon console.
Add data using Neon’s SQL editor
Right now, the products table you created is empty. In the Neon console, go to the SQL editor and run the following SQL query to add data to the products table.
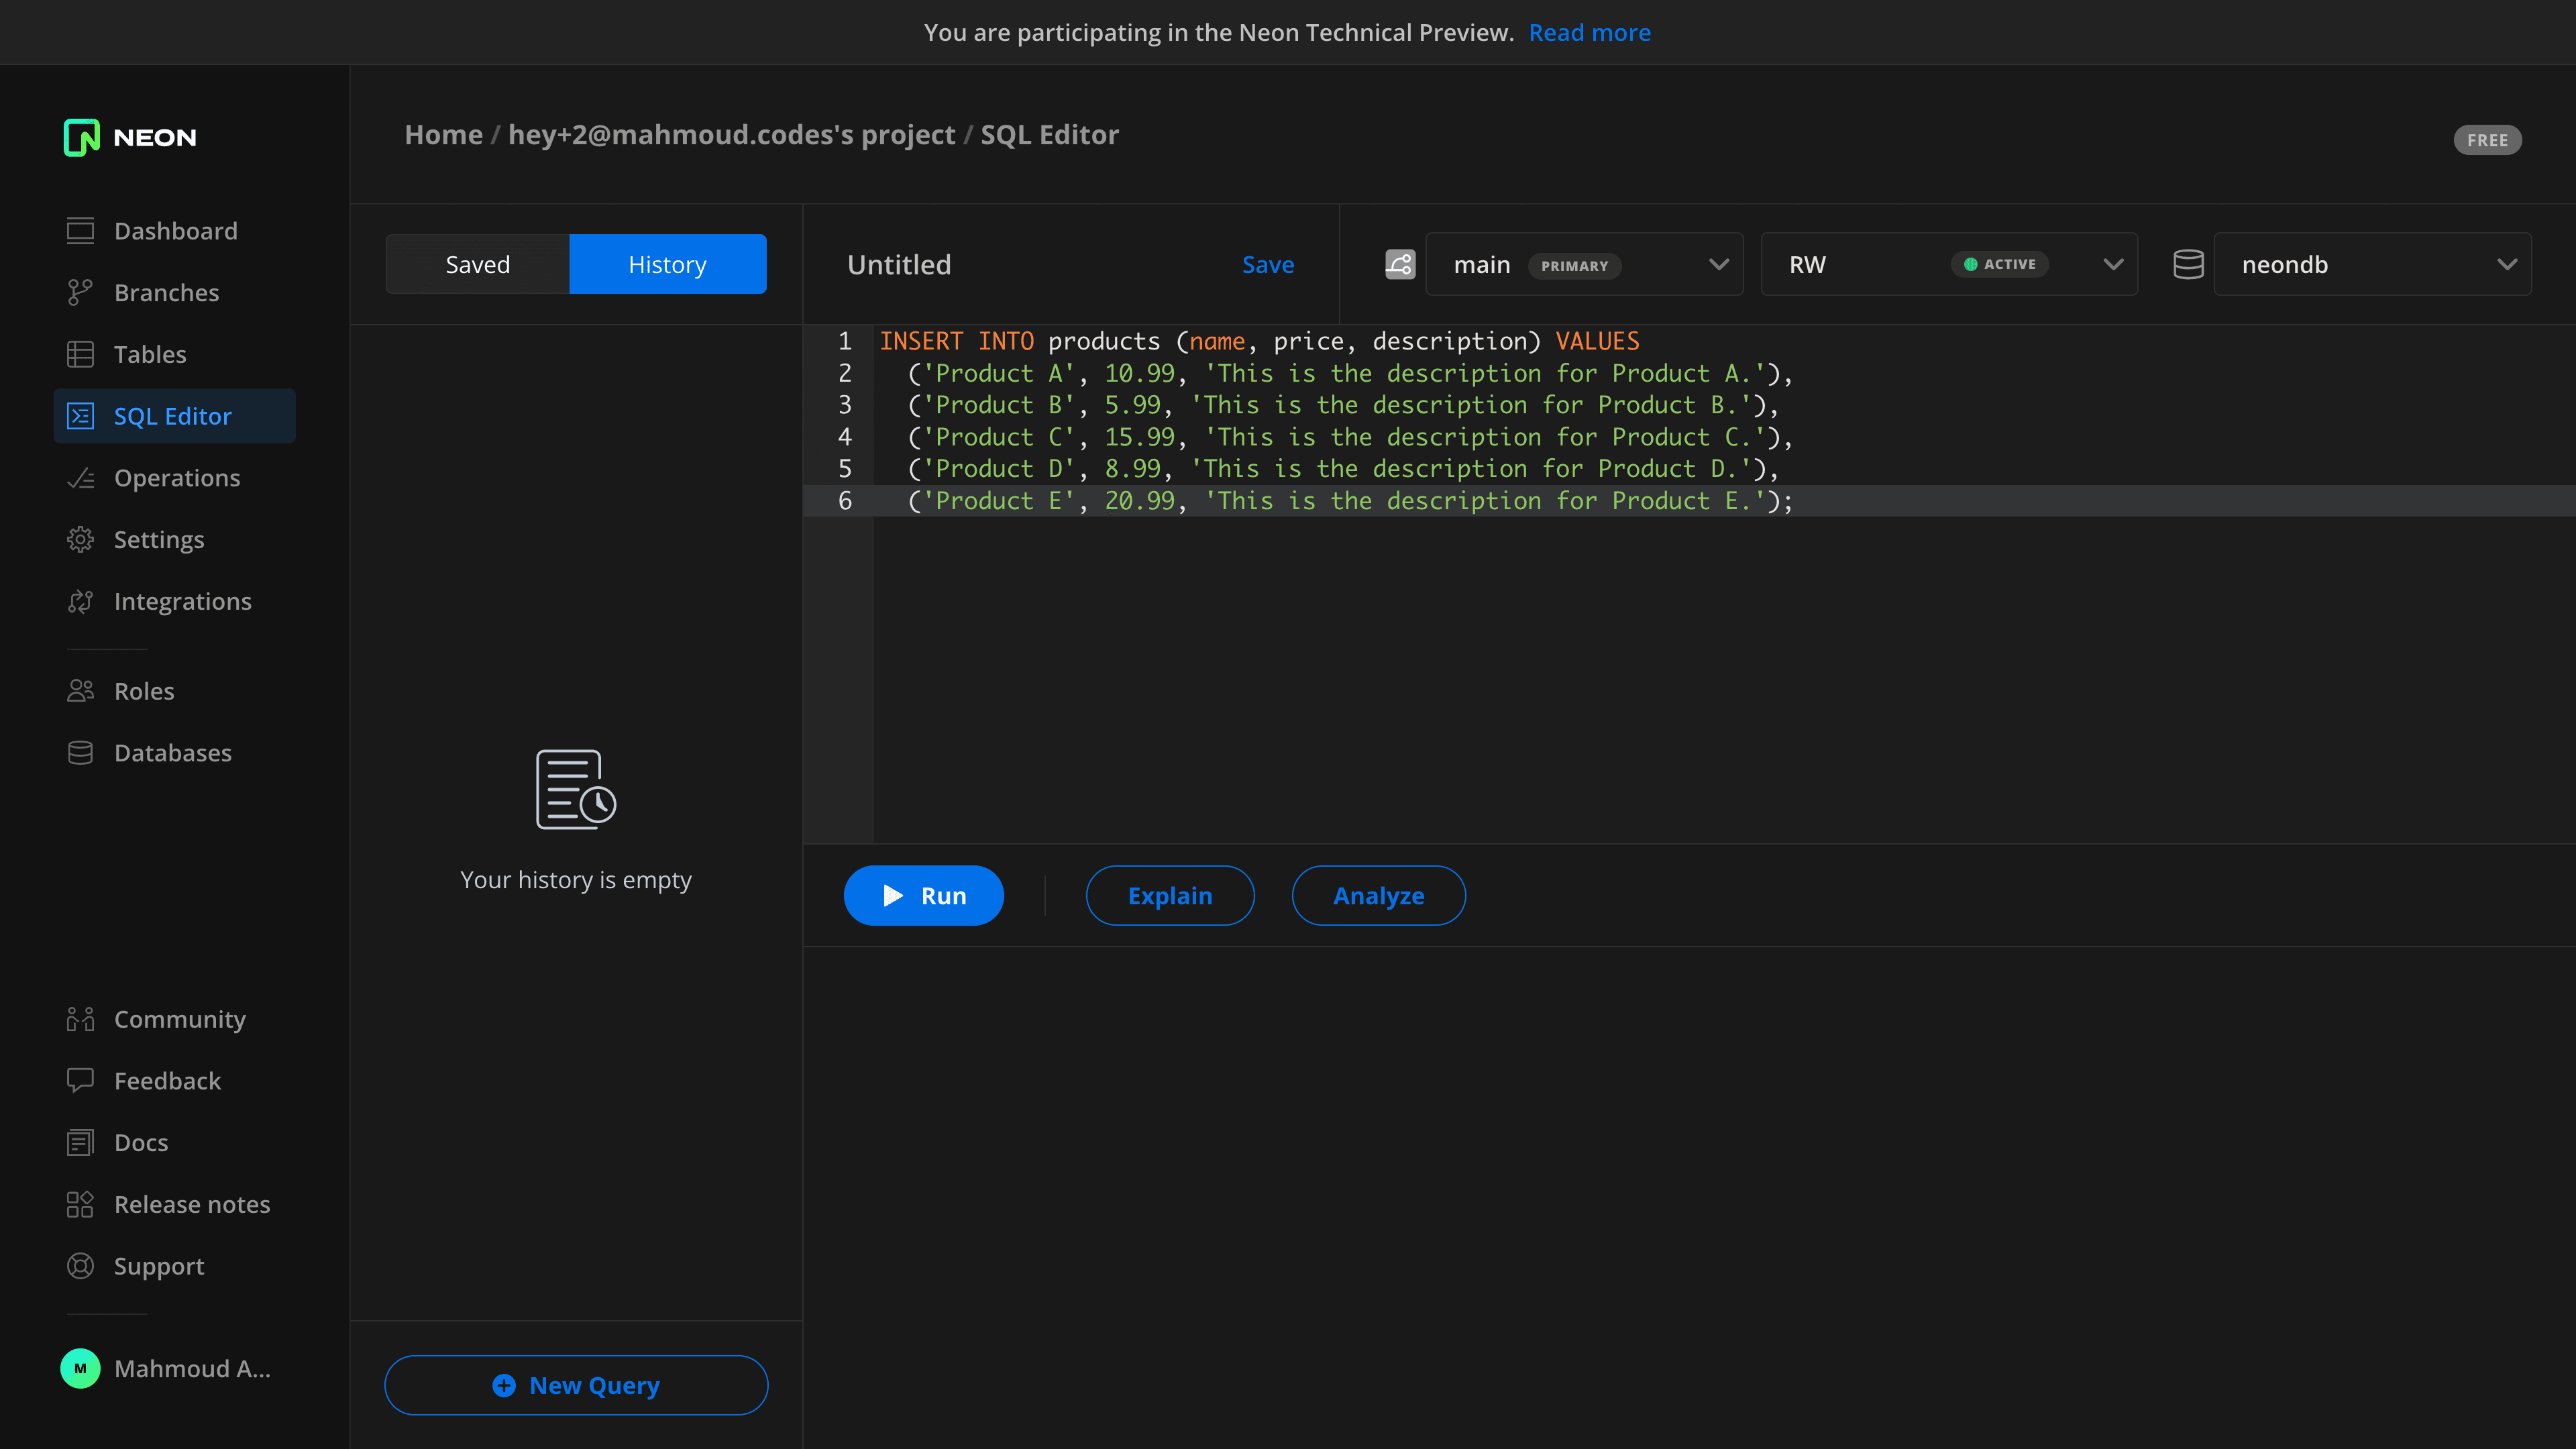
The next step is to connect to the database from the worker.
Connect to Neon from the worker
Navigate to your src/index.ts and add the following code:
You are creating a new Pool() instance, passing in the database connection string, and passing the instance to the drizzle() function to enable sending queries.
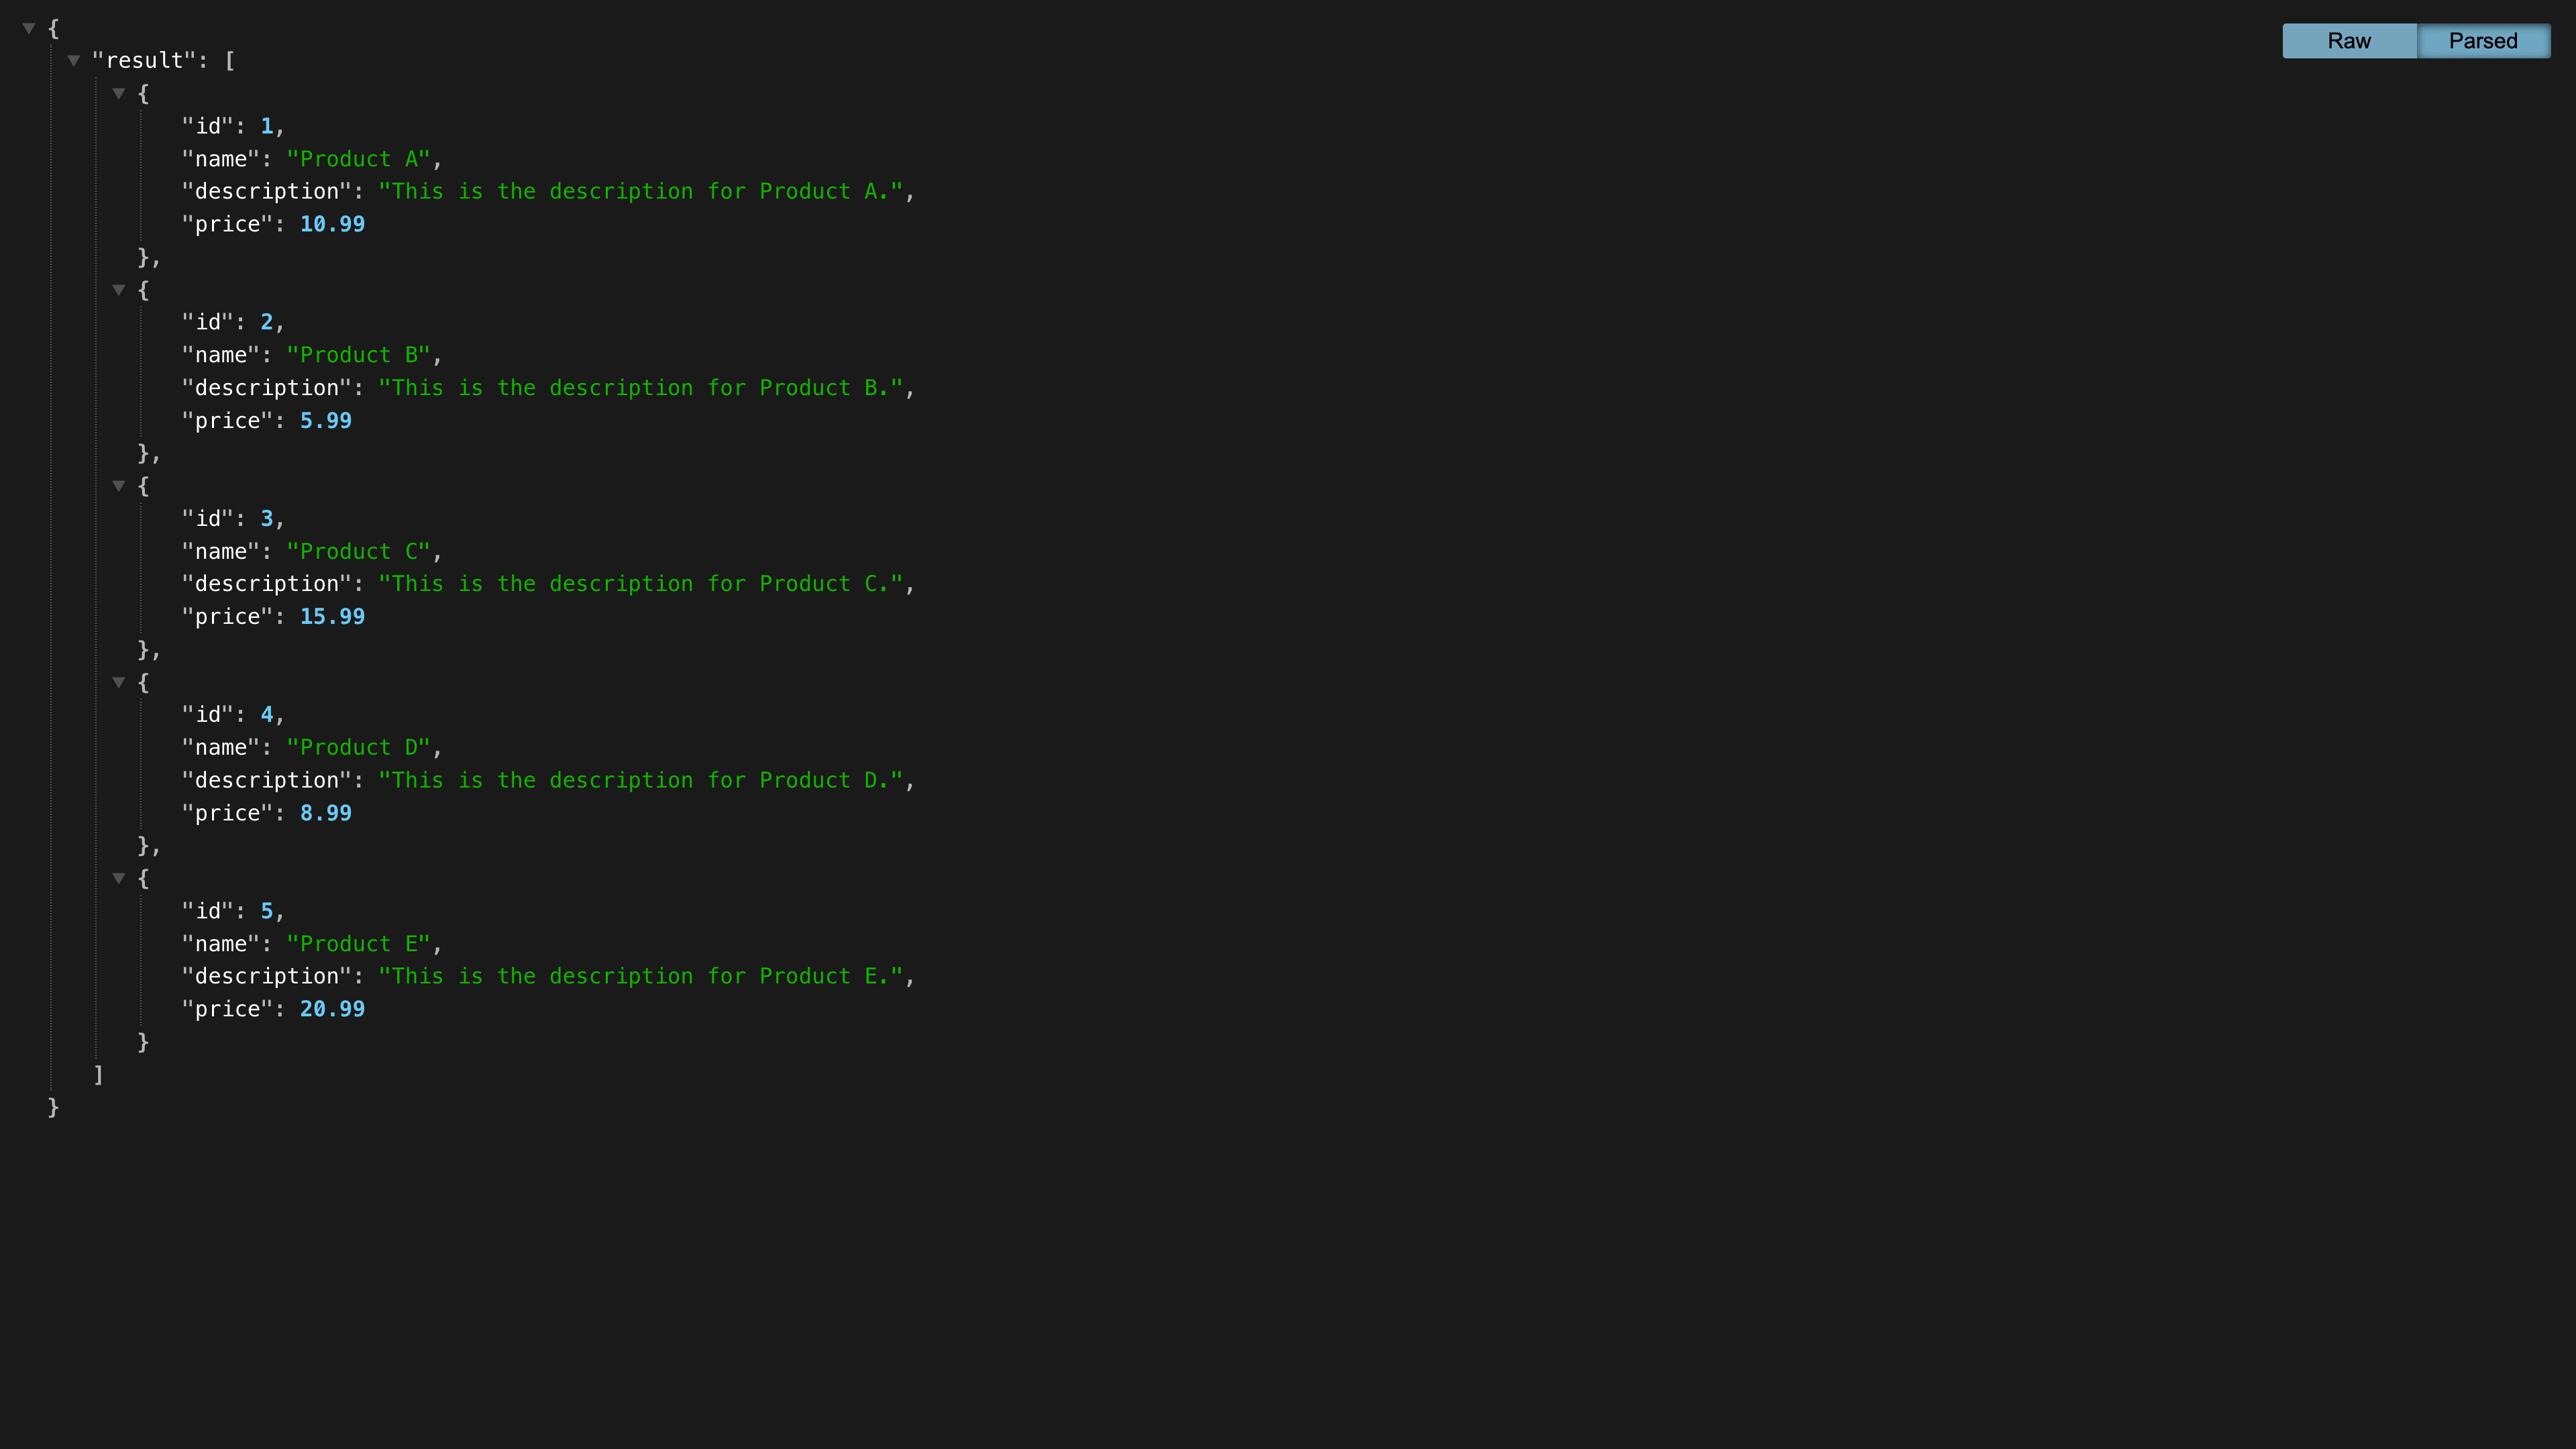
Now, if you start your development server and go to http://localhost:8787, you will be able to see data being returned as JSON.
Deploy the worker using wrangler
To deploy your app, you must first log into your Cloudflare account. To do that, run npx wrangler login. You will be redirected to Cloudflare, where you can connect the CLI to your account.
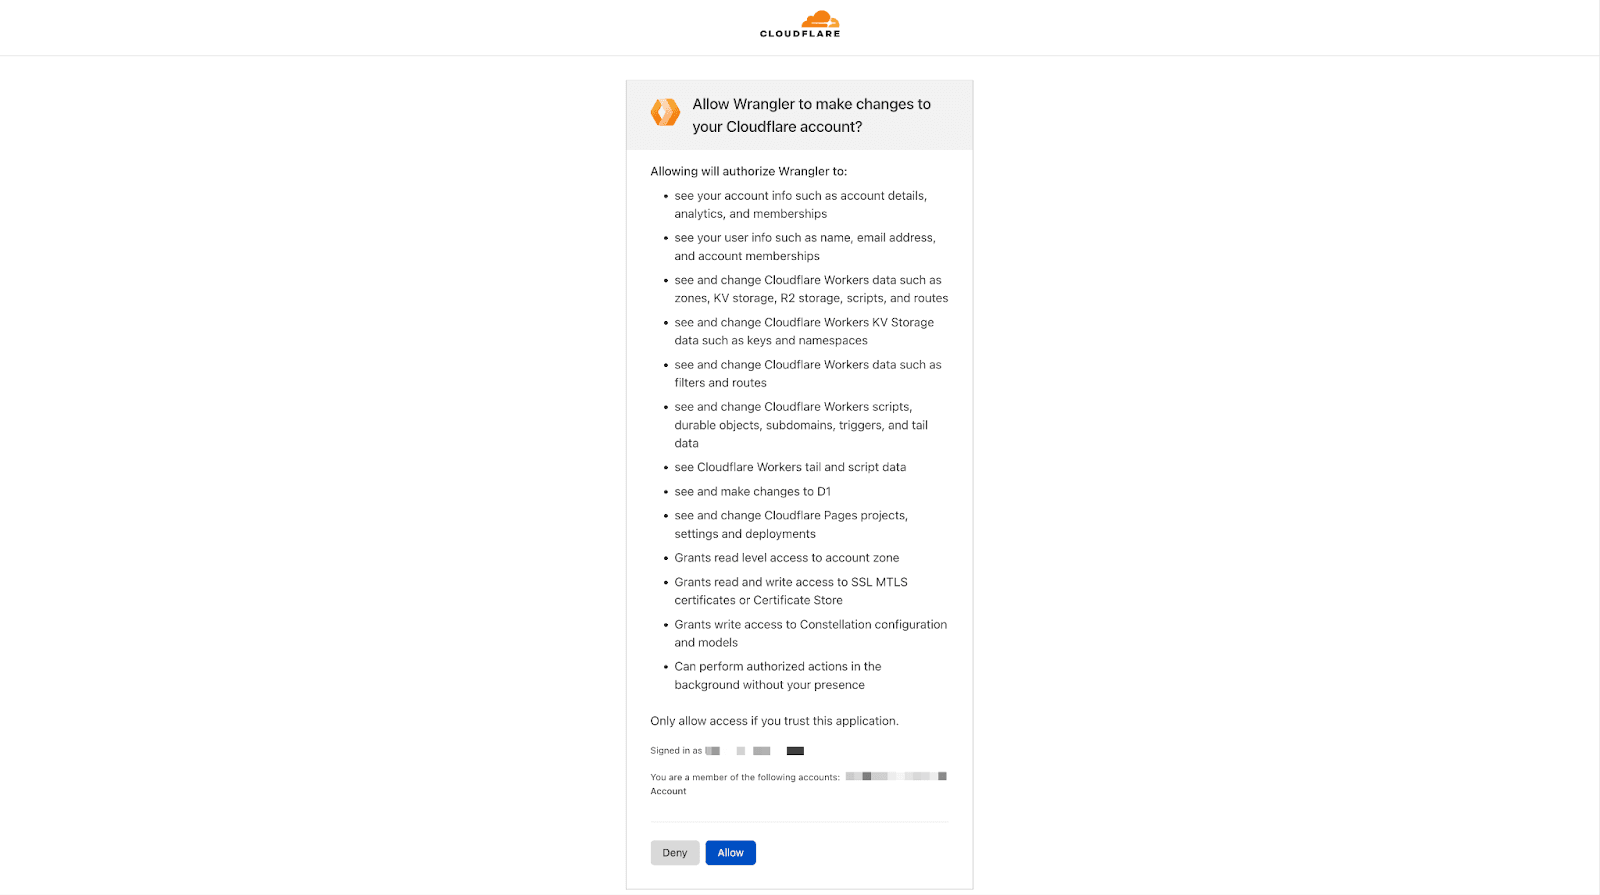
Once logged in, you can run npx wrangler deploy, which deploys your worker. If you try to visit the deployed version, you will run into an error because you have not included the DATABASE_URL environment variable. To do that, you will leverage the Neon integration on Cloudflare.
Use the Neon integration on Cloudflare to simplify credential management
Log into the Cloudflare dashboard, select “Workers & Pages” from the sidebar, and then “Overview”.
Next, choose the Worker you deployed, go to the “Settings” tab, choose “Integrations”, and select “Neon”. After accepting the terms, you will be redirected to an OAuth consent screen where you can authorize Cloudflare. Finally, select your project, branch, database, and role to finish setting up the integration.
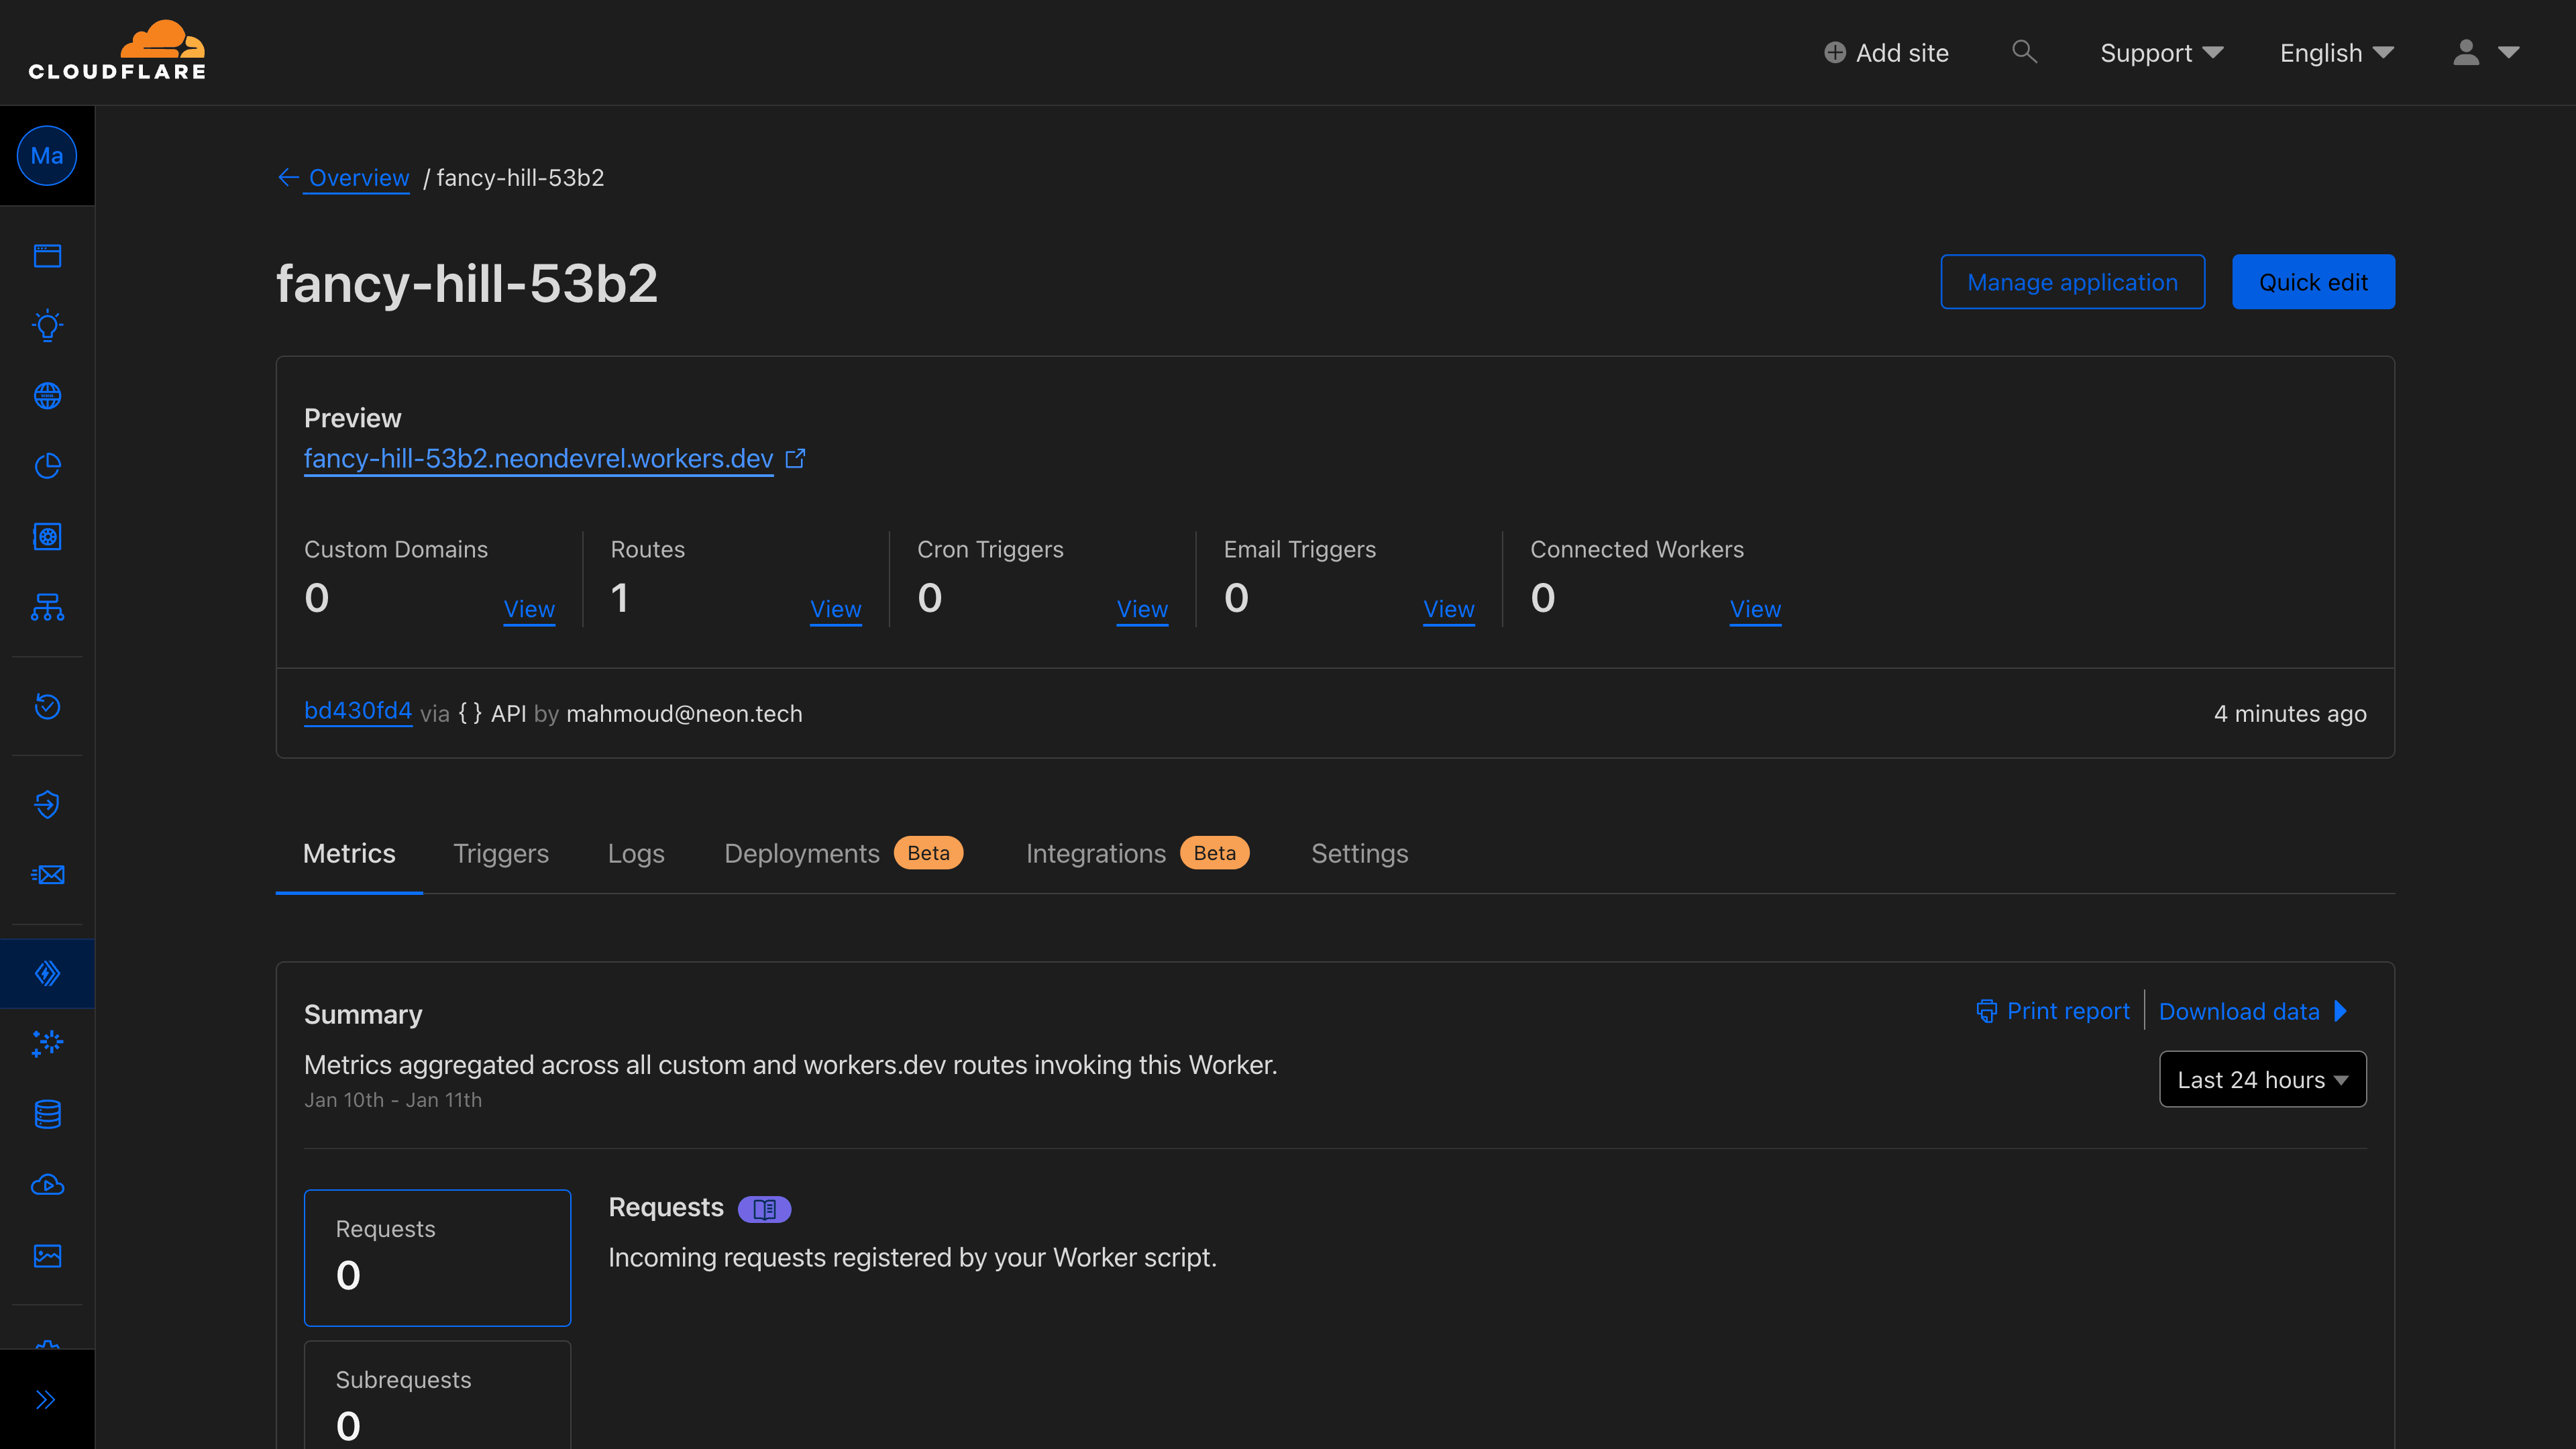
Adding the integration automatically redeploys your worker. So now, when you visit the deployed worker, you will be able to see data returned from the database as JSON.
Conclusion
In this guide, you learned about Cloudflare workers, Hono, Drizzle ORM, Neon, and how you can use them together to create a serverless API.
If you have any questions or run into issues, please reach out to us in the Neon Discord community.


